
Smart desk lamps: choosing controls that work
A practical guide to dimming, sensors and connectivity, built around the way people actually use a desk.
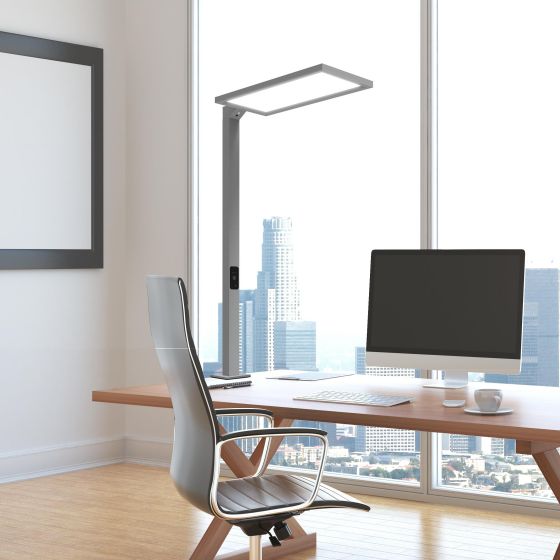
A useful smart desk lamp makes light easy to adjust and its automatic behaviour easy to understand. For a workplace buyer, the starting point is a clear control brief: what should the user do, what should the lamp do automatically, and what happens when those needs change?
1. Begin with a working day
Picture the desk in use. One person may alternate between a monitor, printed documents and a video call. At a shared workstation, the next person may need a different setting. A lamp beside a window also faces different conditions from one deeper inside the room.
Use these situations to define the controls. Decide whether the priority is quick manual adjustment, a response to changing daylight, switching after a desk is vacated, or settings that can be recalled. Write down the behaviour you need before comparing feature lists. The word “smart” alone does not tell you which of these functions a particular model includes.
2. Make everyday adjustment simple
The on/off control and dimmer should be easy to find and reach from a seated position. During a sample review, check whether a user can change the brightness without moving the lamp, reaching behind a screen or opening an app. Try the lower end of the dimming range as well as full output, and look for abrupt steps or visible instability.
Ask what happens after the lamp is switched off or the power is interrupted. Does it recall a setting or return to a default? If adjustable colour temperature is required, confirm that the selected version supports it: a choice of fixed colour temperatures when ordering is a different feature. For shared desks, also agree how a new user returns to a useful starting setting.
3. Check what the sensors do
Daylight-related control and occupancy-related control answer different questions. The first responds to the available light; the second responds to whether a space is occupied. Confirm which functions are included, where the sensors are positioned and which settings can be adjusted.
A practical trial should include someone reading quietly, a person passing the desk and a change in daylight. Observe the response rather than assuming that a sensor will recognise every situation correctly. Check the delay before switching or dimming, and whether the user can override the automatic setting. Screens, shelving and partitions should be in their intended positions during this review.
4. Give connectivity a clear purpose
Connected controls are worth considering when the project has a specific need, such as managing settings across a group of desks. They also introduce questions about setup, accounts, network access and ongoing support. Ask who will configure the system and who will help users when a device or account changes.
If an app, wireless connection or voice-control integration is proposed, request confirmation for the exact configuration and intended platform. Check which functions remain available without the connection. For a desk that only needs local dimming, a clear physical control may already meet the brief. Connectivity should earn its place through a useful function.
5. Evaluate the light at the desk
Control features do not replace a review of the light itself. Position the sample with the actual screen, keyboard and reading area. Check whether the working area receives useful light, whether the light source is uncomfortable to look at and whether reflections appear on the screen. Repeat the check from the user's normal seated position.
The mounting arrangement matters too. A base occupies desk space; a clamp needs a suitable edge and clearance below it. Review the reach and movement of the lamp, access to controls, cable routing and the relationship to any monitor arms. Where the project specifies lighting performance, request relevant photometric information and assess the complete layout against the brief.
6. Test the selected configuration
Use one agreed sample configuration for the review. Record its model code, mounting method, controls and any optional components. Ask for the corresponding dimensions, operating instructions and technical documentation so the reviewed sample can be connected to the proposed order.
Run through arrival at the desk, manual adjustment, a quiet reading period, leaving the workstation and returning after a power interruption. Record unexpected behaviour and resolve it before approving the configuration. A feature demonstrated on another variant should not be assumed to apply to the one being purchased.
A useful enquiry checklist
Prepare these details before discussing a desk-lamp configuration:
- Desk dimensions, screen position and preferred mounting method
- Whether desks are assigned or shared between users
- Required manual controls and colour-temperature behaviour
- Sensor functions, timing and manual override requirements
- Any connectivity requirement and the team responsible for setup
- Sample acceptance checks and required technical documents
Choose behaviour you can verify
The best control brief is one that can be demonstrated at a real desk. Start with everyday use, confirm the functions of the selected version and approve a sample against that brief. This gives the buyer, the user and the supplier a shared understanding of what the lamp is expected to do.